
Whether you're a seasoned rider or just starting your journey, your helmet is your most important piece of gear, providing essential protection and peace of mind every time you ride. A clean motorcycle helmet doesn’t just look good—it plays a significant role in your safety and comfort. Neglecting it can lead to dirt, sweat, and bugs building up, affecting your riding experience and the helmet’s performance.
Fortunately, giving your helmet a thorough clean doesn’t require fancy tools or pricey cleaning products. With some basic household items and a bit of care, you can restore your helmet to its original shine and ensure it stays fresh and functional. As motorcycle enthusiasts, we've perfected the art of helmet cleaning and are excited to share our simple yet effective process.
Essential Items for Helmet Cleaning
Before diving into the actual cleaning of your motorcycle helmet, you need to gather a few essential items. These will help facilitate a proper, thorough cleaning that does not damage the helmet materials. Do your best the gather the following materials:
1. Microfiber Towel or Cloth: A wet microfiber cloth will be needed to scrub off tougher grime and debris while a dry, clean microfiber cloth will be needed to wipe water from the helmet's exterior without scratching it. Always make sure your clothes are free from debris that may scratch your helmet.
2. Mild Detergent or Baby Shampoo: Choose a mild soap or baby shampoo that doesn't contain harsh chemicals to clean your helmet without damaging any of its materials.
3. Warm Water: Warm water will help to break down any stubborn stains or dirt without damaging your helmet.
5. Soft Toothbrush or Kitchen Sponge: These are optional, but can help to dislodge any stubborn dirt in the crevices of your helmet.
By having these items on hand and ready to go, your helmet cleaning process will be smoother, and you’ll be less likely to miss any crucial steps. Plus, they’re also useful for maintaining your other protective gear, like gloves, jackets, and riding boots. With everything ready, let’s dive into our step-by-step guide on how to get your helmet looking and smelling as good as new.
Step-by-Step Guide to Clean a Motorcycle Helmet
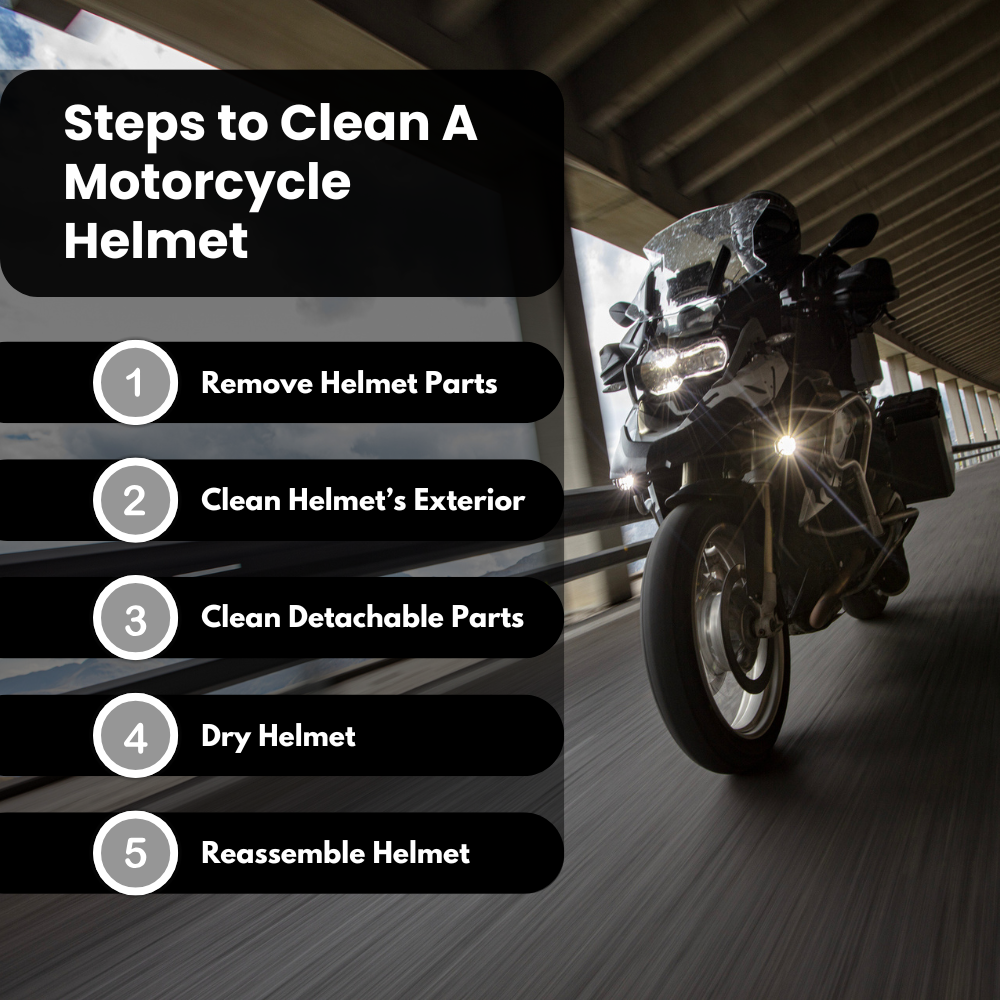
Step 1: Remove Helmet Parts and Accessories
Start by removing any accessories and detachable parts such as the visor, cheek pads, removable liner, and any other parts that can be detached.
Step 2: Clean Helmet’s Exterior
Wipe down the helmet's exterior, EPS liner, and non-removable parts with a wet microfiber cloth. For tougher grime that won’t come off easily, use a cloth soaked in warm soapy water to loosen the dirt. Then, gently scrub the stubborn spots with a soft toothbrush for a thorough clean.
Step 3: Clean the Helmet's Detachable Parts
Rinse the cheek pads, helmet liner, and other removable padding under warm water and apply a small amount of mild soap. Knead the soap into the padding using your fingers to work out any dirt and then rinse. If your helmet’s pads are machine washable, place them in a mesh laundry bag or pillowcase, use a mild detergent, and wash on a delicate cycle with cold water.
Step 4: Dry Your Helmet
Allow all helmet parts to air dry naturally in the shade, ideally indoors. Avoid direct sunlight, as it can weaken the helmet’s materials over time. Use a microfiber towel to gently pat the non-removable inner sections, remove any excess water, and lightly dab the visor and helmet surface to prevent scratches.
Step 5: Reassemble Your Helmet
Once all the parts are completely dry, carefully reattach the removable components according to the manufacturer's guidelines. Ensure each piece is securely in place and properly aligned to maintain the helmet’s fit and functionality. Take a moment to inspect your helmet for any missed spots or loose parts before it’s ready for your next ride.
The Importance of a Clean Helmet
Maintaining your helmet is crucial, not just for comfort, but for your safety. Helmets can trap sweat, dirt, and debris that build up over time. This accumulation can lead to unpleasant odors, skin irritation, and even bacterial growth. Plus, a visor caked with dirt or bugs can cloud your vision, increasing the risk of accidents. Regular cleaning ensures your helmet is both comfortable and safe, keeping your ride smooth and your visibility clear.
Additionally, knowing when to replace your helmet can be challenging, but it’s crucial for your safety. If the outer shell is damaged, the face shield is severely scratched, or the liner and padding are no longer salvageable, it’s time to consider a new helmet. Additionally, helmets that continue to hold odors, feel damp after cleaning, or show significant wear and tear may no longer provide the protection you need so it's important to regularly inspect your helmet for signs of damage or degradation. This will help ensure you're always riding with the level of protection you can rely on, keeping you safe on every adventure.
Tips for Maintaining Your Helmet
Beyond cleaning, regular maintenance and proper storage of your motorcycle helmet can prolong its life, maintain its quality, and improve your comfort. Here are some tips for maintaining a clean helmet:
Proper Storage
When not in use, store your helmet in a cool, dry place, away from direct sunlight. To protect it from dust and environmental factors, consider using a helmet bag or box.
Quick Post-Ride Cleanup
After each ride, take a few minutes to wipe down your helmet. This helps remove any dirt, bugs, or debris that may have accumulated, preventing buildup and reducing the need for a thorough cleaning later on.
Regular Helmet Cleaning
While the frequency of cleaning will depend on your riding habits, it's a good idea to deep clean your helmet every few months. If you're a frequent rider, you may want to clean your helmet more often due to the increased exposure to dirt and grime.

By properly cleaning and maintaining your helmet, you're not only protecting yourself but also enhancing your joy on every ride. Just like when you take your bike for a spin with a brand-new sound system from Garage Bagger Stereo. Our premium motorcycle audio products combine the joy of the open road with an exceptional audio experience. Whether your budget is small or large, our team is always available to help you get exactly what you are looking for. Shop Garage Bagger Stereo today!